

98%
Tevredenheid scoren van mijn klanten
24/7
Support via onze ticket support
0
Bugs en/of vulnerabilities
Betalingen altijd in eigen beheer
Onze gebruikers minimaliseren hun transactiekosten naar €0,36 ex. per dag
Mollie
€0,29 ex. per transactie
Stripe
€0,29 ex. per transactie
Adyen
€0,33 ex. per transactie
Tikkie / Wero
€0,36 ex. per dag
per storting max. €5000

1ste Stap – Tikkie – Token & personalisatie
Ga naar Tikkie.me
Registreer uw zakelijke rekening en volg de stappen. Binnen 24 uur ontvangt u een mail zodra uw account actief is.
Op tikkie.me kunt u uw tikkie pagina’s personaliseren naar uw wens, de wijzigingen worden vaak de zelfde werk dag goedgekeurd.
Vervolgens maakt u op business.tikkie.me uw token aan, deze is nodig voor het aanmaken van een Tikkie bij een nieuwe bestelling in WooCommerce. Op de instellingspagina van de WooCommerce Checkout “Tik het af” Plug-in kunt u deze invullen.
2de Stap – ABN Developers – Production Access API
Ga naar ABN Developers
Registreer uw op ABN Developers en volg de stappen. Niet alleen ABN is mogelijk, maar elke zakelijke bankrekening.
U moet de production Tikkie API aanvragen; Tikkie Cashback, Tikkie Production, Wero Merchant Payment aanvinken en de API naam noteren. Tevens krijgt u een email met een Certificaat en Key die nodig zijn voor Wero betalingen. Deze wordt vaak binnen 1 werk dag goedgekeurd. De API kunt u invullen op de instellingspagina van de WooCommerce Checkout “Tik het af” Plug-in. Deze is nodig voor het maken van een tikkie betaal mogelijkheid tijdens het bestelproces.


3de Stap – Setting up – Plug-in uploaden, activeren & instellen
Login op uw wp-admin panel
Na het aankopen van onze plug-in kunt u de bestanden uploaden, uw licentie code invoeren en vervolgens de gegevens van de eerdere stappen invoeren.
In het menu aan de linkerkant in uw wp-admin panel ziet u Plug-ins >> Nieuwe plug-in >> Plug-in uploaden en selecteer het gedownloade .zip bestand dat u hier kunt terug vinden. Na het activeren van de plug-in gaat u naar de instellingen pagina van de plug-in, daar vult u uw licentie code in die hier op uw factuur terug vindt. De gegevens van de eerdere stappen kunt u nu invoeren. 1 Tkkie token kan met 1 Developer API samen werken. Probeer je toch met andere te koppelen werken ze allebei niet uit veiligheid. na het invullen van alle gegevens kunnen uw klanten bestellen en betalen via Tikkie.
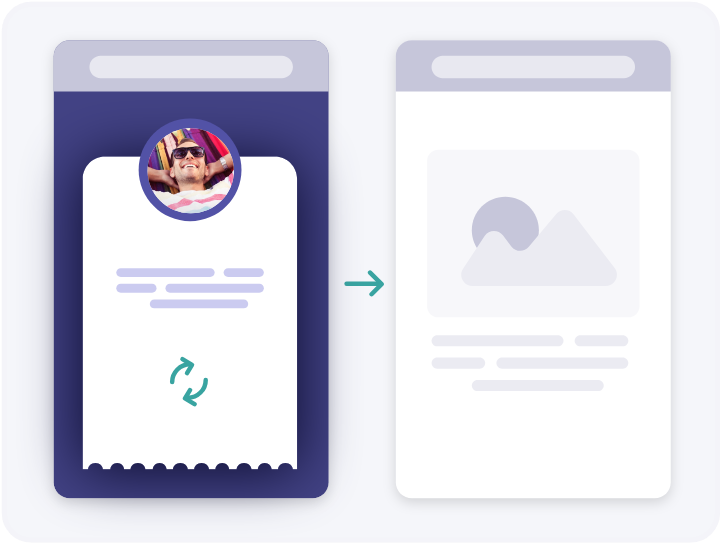
4de Stap – Redirect – Woocommerce Order page
Ga naar Tikkie zakelijk pagina instellingen – Bedankt pagina
https://www.jebedrijfsnaam.nl/my-account/orders/

De mogelijkheid om betalingen zelf te beheren, doordat het direct op mijn zakelijke rekening is bijgeschreven, maakt de gebruikerservaring van mijn webshop meer klantvriendelijk. Het gaat dan om terugbetalingen verwerkingstijd bij retours en/of niet ontvangen items. Ook buitengewoon lage transactie kosten, geweldig!
Anoniem